Working on your first Rest Assured test in Eclipse and Maven
- Coding Camp
- Jan 4, 2021
- 1 min read
Updated: Jan 5, 2021
The Pre-requisites of working on Rest Assured are,
set up java
Install IDE: Eclipse
Set up Maven in Eclipse
To install eclipse and set up maven refer this link.
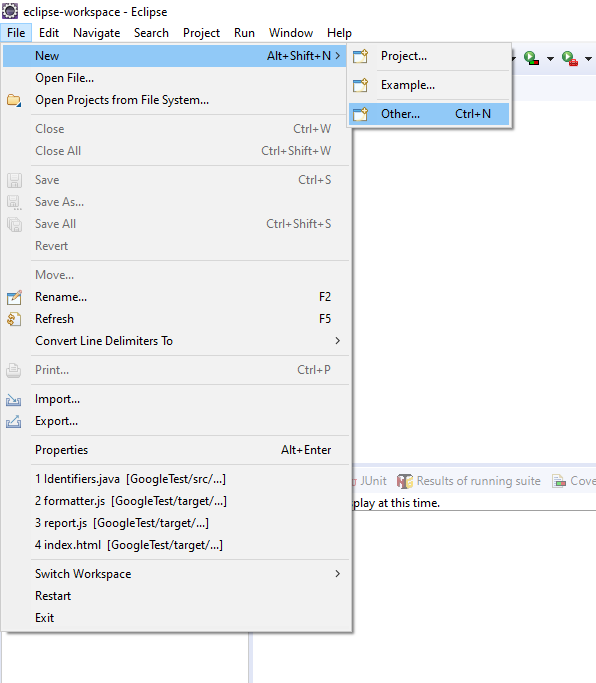
The steps to create your first Rest Assured test is,
Create a Maven project, open pom.xml and add dependencies for Rest Assured and JUnit.
Create a test class and Junit method
Add imports, your code and hit run to see the json response in console.
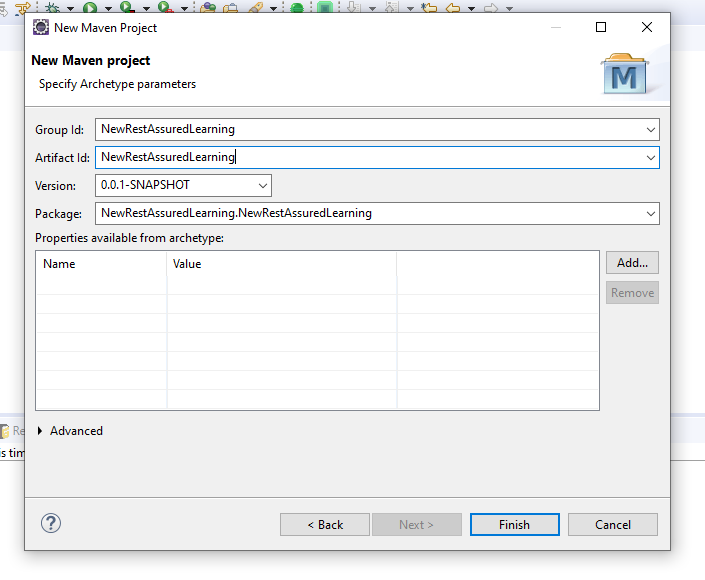
Step 1: Create a Maven project, open pom.xml and add dependencies for Rest Assured and JUnit.


Now you can see the project is created, and you pom.xml looks like below.
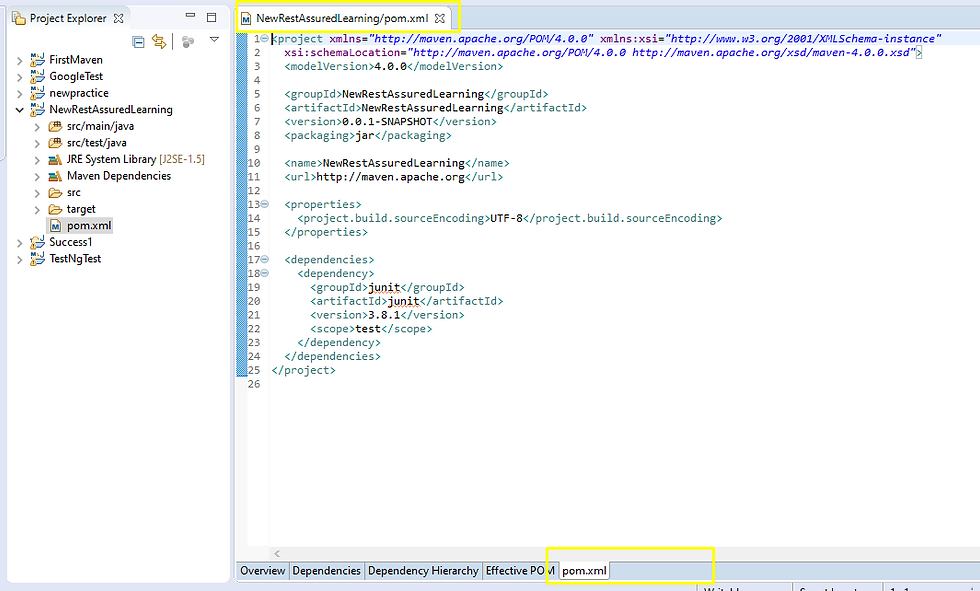
Add the following dependencies to configure Rest Assured.
<dependencies>
   		<dependency>
			<groupId>junit</groupId>
			<artifactId>junit</artifactId>
			<version>4.12</version>
			<scope>test</scope>
		</dependency>
		<dependency>
			<groupId>org.hamcrest</groupId>
			<artifactId>hamcrest-all</artifactId>
			<version>1.3</version>
			<scope>test</scope>
		</dependency>
		<dependency>
			<groupId>com.google.code.gson</groupId>
			<artifactId>gson</artifactId>
			<version>2.6.2</version>
			<scope>test</scope>
		</dependency>
		<dependency>
			<groupId>com.jayway.restassured</groupId>
			<artifactId>rest-assured</artifactId>
			<version>2.9.0</version>
			<scope>test</scope>
		</dependency>

  </dependencies>
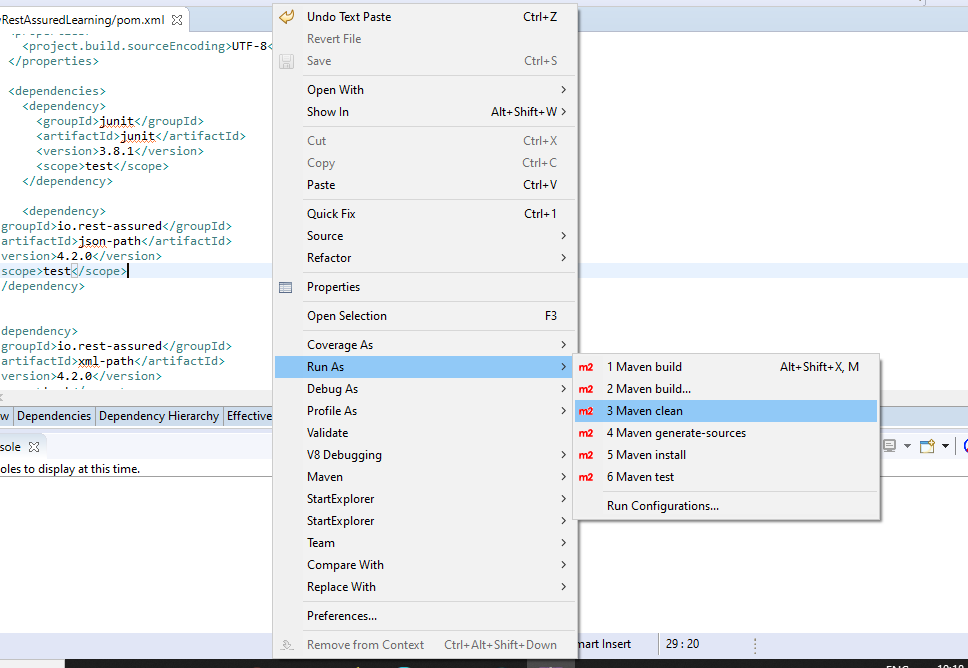
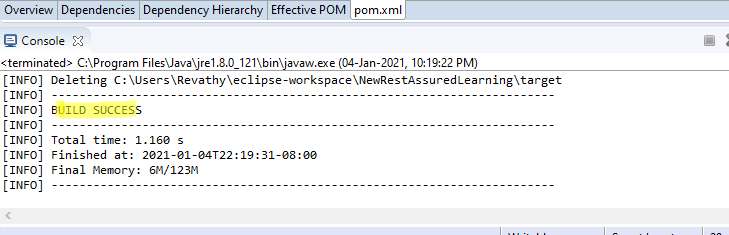
Right click on the pom.xml, select run as -> maven clean and again maven install.
You will see this in console.
Step 2: Create a test class and Junit method.

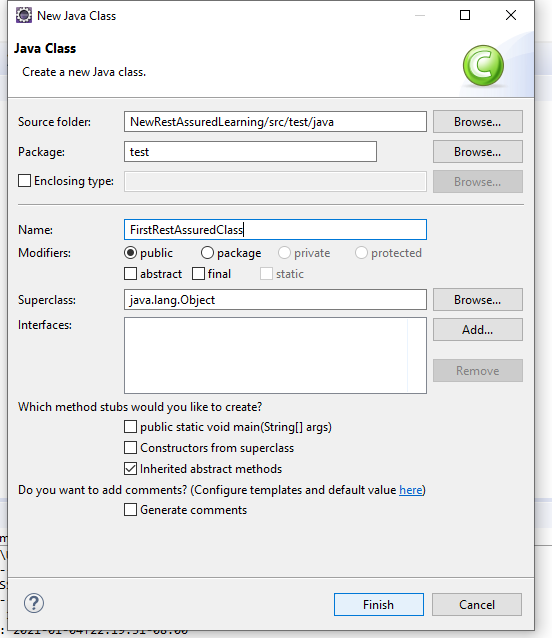
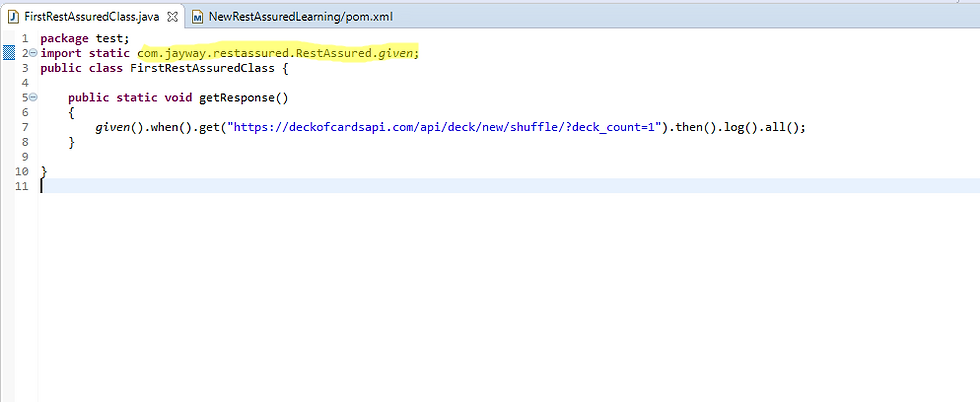
Create a test method "FirstRestAssuredClass", import restassured packages and add the code.
package test;
import static com.jayway.restassured.RestAssured.given;
import org.junit.Test;
public class FirstRestAssuredClass {

	@Test
	public void getResponse()
	{
		given().when().get("http://deckofcardsapi.com/api/deck/new/shuffle/?deck_count=1").then().log().all();
	}

}
Step 3: Add imports, your code and hit run to see the json response in console.
Run the test as Junit test, and you could see the expected response in console.
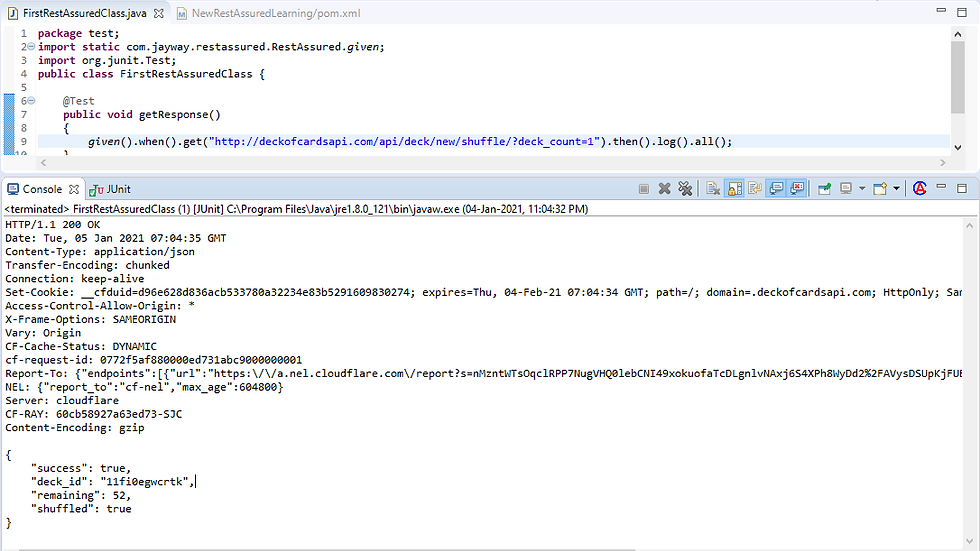
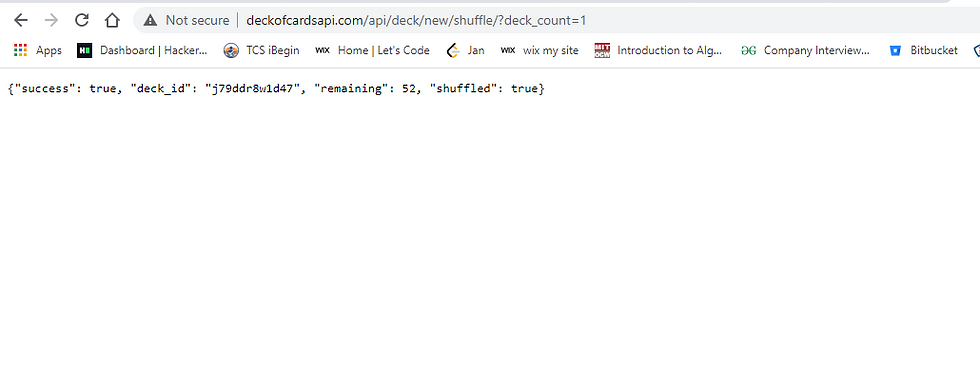
You can cross check the response by launching the URL in browser.
Congratulations!!! You have created your first Rest Assured test. Happy Testing!!!
Σχόλια